 Get this pattern and more when you buy the book!
Home | About Us | Contact Jennifer Stafford
L'il Red Riding Hoodie
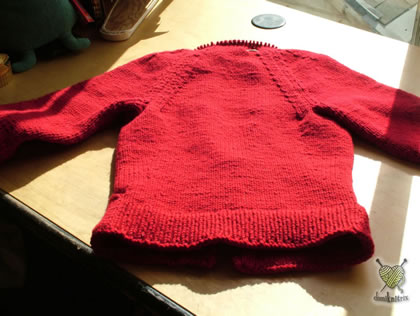
Iflew through the L'il Red Riding Hoodie cardigan, all the while planning to sew devil horns to the hood and free the L'il Devil inside the yarn. But that was not to be. This is a little more wearable, no?
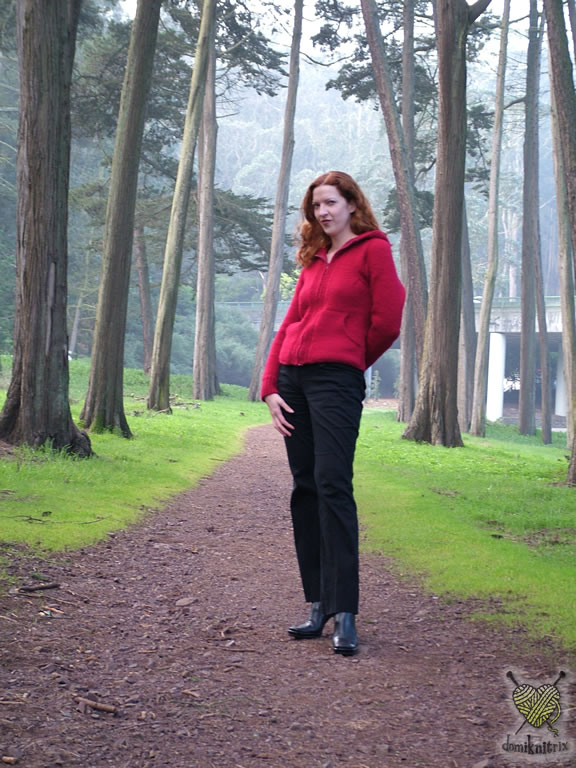
L'il Red Riding Hoodie in the woods
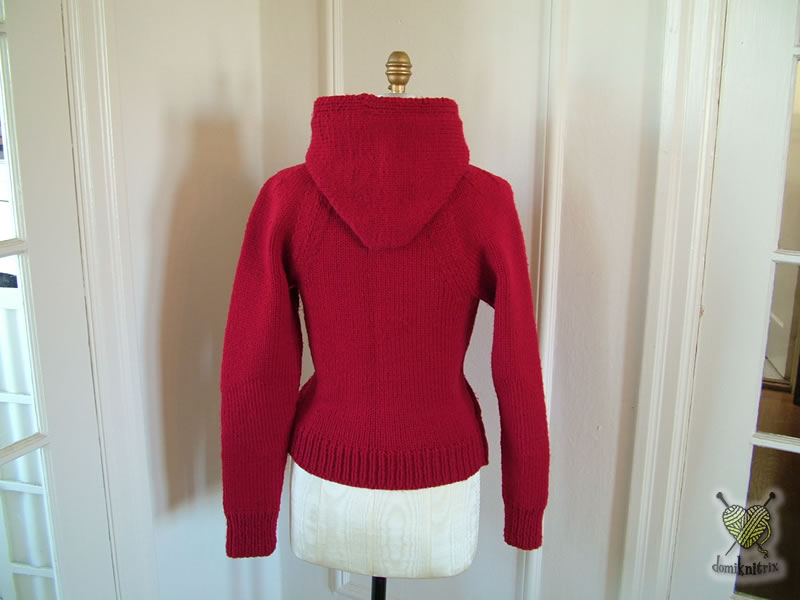
L'il Red Riding Hoodie rear view
Later, I discovered that the remnants still wanted to be a devil hat, not a devil hoodie. Now everyone wants one! That is exciting. Check out the Devil Hat page.
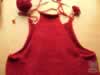
I was inspired to knit the L'il Red sweater while pondering how I'd use the 20 balls of Barn Red Two.Two 100% highland wool I'd gotten on special from KnitPicks. I love their yarn pick specials! At first the yarn had seemed too bright for me and I meant to find a black or charcoal yarn to cool down the end result, but was having trouble finding Two.Two stocked in those colors. It had been sitting in the corner since the holidays, waiting for the muse to bite.
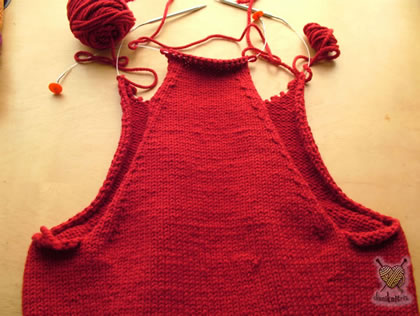
I saw it then: a tight, red cardigan with ribbing at back waist, sweatshirt style pockets, a hood and zipped front. Stylized raglan shoulders, close sleeves with twisted stitch for sturdy elbow patches. Did I already say it's going to be tight?
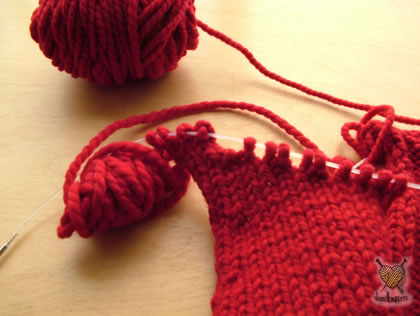
I cranked out a stockinette gauge swatch on size 10 needles in just a few minutes. Then I did the math and cast on 99 stitches to make it 27" wide: for my 29" waist, less 2" for the placket. I knit to measure, and don't do a lot of counting.
I saw it then: a tight, red cardigan with ribbing at back waist, sweatshirt style pockets, a hood and zipped front. Stylized raglan shoulders, close sleeves with twisted stitch for sturdy elbow patches. Oh, did I already tell you it's going to be tight?
I thought I'd want to sew on a ribbed placket later but hadn't settled on the buttons vs. zipper question yet and might even close it with corset laces, so best not to make any commitments so early. So I left that 2" gap for the placket so I could decide later.
To keep understanding of the shaping simple, I consistently add the same sort of increase on the same side of each marker every 6 rows until the piece measures 1" shy of my armpits. If the increases (and later, decreases) are done consistently, they will create the impression of a seam. I use this to flattering advantage here, and later in the bust and shoulder shaping. For more on the raised or lifted increases, which I find to be the most invisible, see How To's.
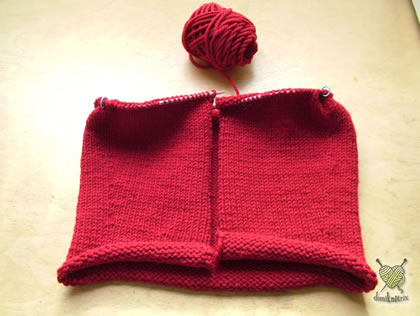
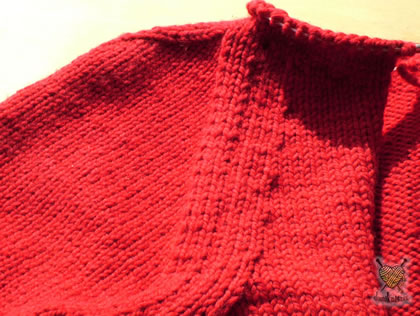
As L'il Red grew to be 1" shy of bust height, I knit to the point where I wanted the bust dart to begin, placed a new marker, then did an SSK decrease. This SSK is the beginning of the bust dart. Then I knit to reach the next marker coming up on the needle. Just after this marker, I knit 2 sts together before the next (underarm) st marker. This K2tog will become the raglan shaping. I wanted the raglan to be closer to my midline than the average raglan, which is why I placed the decreases 4 sts away from the edge. I then knit across and SSK after the next marker for the other raglan.
For the next 10 rows, I knit the bust dart and raglan shaping details on the reverse side as well, to draw it in tightly for the bust and create the style lines as well. When I reached the armpit, I wrapped the work in progress around myself to see where I should cast off for the armscye. It turned out to be the same row where the bust dart and shoulder seam merged.
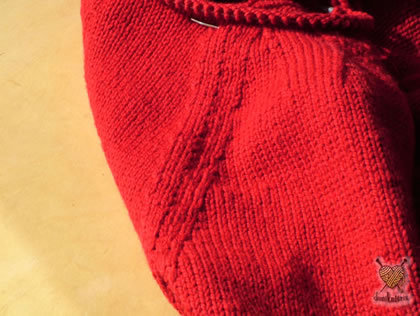
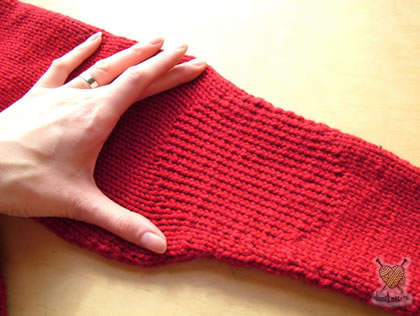
And then sleeves, long and narrow, with twisted stitches at the elbow patches. Increased every 6 rows, then a few more increases carefully distributed above the armscye. Then I decreased at each edge every 4 rows until the sleeve is where you would be setting in the sleeve, if it were set-in.
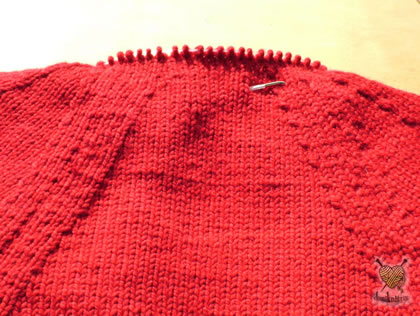
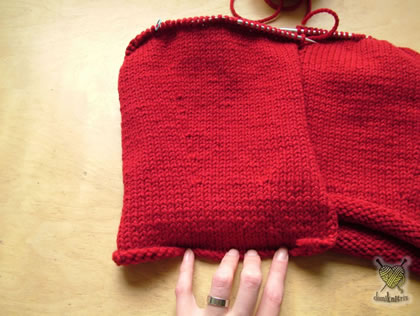
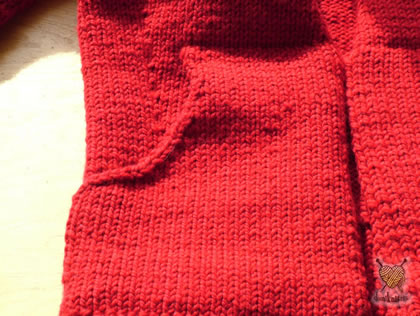
I used mattress seams to join the sleeves to the body. Then I knit a pocket onto each front and grafted the tops shut with Kitchener stitch.
I knitted a ribbed placket for the zipper and sewed that on with more mattress stitch. When I get around to writing a pattern for this one, I will incorporate the ribbing from the start, rather than sewing it on later. I prefer plastic zippers on my knits, since I find it makes the garment so much more wearable. I found that a burgundy zipper was better for the Barn Red yarn than the first one I bought. So now I have a very orange "red" zipper taking up space because Britex Fabrics won't let you return anything, EVER.
I had not cast off the placket stitches, but left them on a holder, as I usually do, since I prefer never to seam bound off selvedges. I put all the stitches on the same needle and then knitted the hood, grafting it together on top.

This pattern available in the book!
start date
01/20/2004
end date
02/14/2004
yarn make
Classic Elite
yarn type
Two.Two
yarn quantity
20
yarn color
barn red
needle size
10
gauge
3.5 stitches/